MeDo

Generador de Badges con IA.

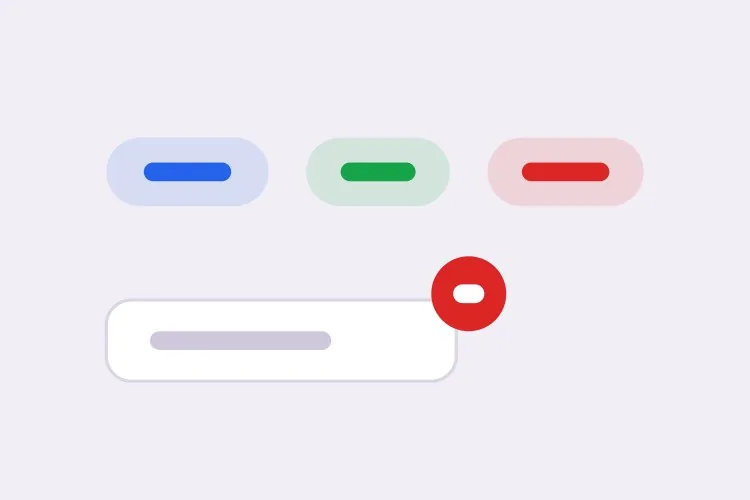
Describe tus estados y MeDo genera el conjunto completo de badges — pills de estado semánticas, etiquetas eliminables, contadores numéricos con desborde 99+ e indicadores de punto que se apoyan en un avatar sin recortarse.

Badge
Badge

Un badge es el componente más pequeño con más probabilidades de romper el layout

Los badges viven dentro de otras cosas: celdas de tabla, filas de lista, elementos de navegación, encabezados. Eso convierte su altura intrínseca en una dependencia de layout, no en una decisión de estilo. Un badge cuyo line-height es un píxel más alto que el texto que tiene al lado estirará silenciosamente cada fila de una tabla, y el error se reportará como "la tabla se ve mal" en lugar de como un problema del badge. Fijar el badge a una altura y un line-height concretos, en vez de dejar que lo decidan el padding y las métricas de la fuente, es lo que lo hace seguro de insertar en cualquier sitio. Generar todo el conjunto a la vez significa que cada tono y cada tamaño comparten esa escala de altura por construcción.

6 plantillas

Plantillas de Badge que puedes generar

Cada plantilla es un prompt real, no una captura de pantalla. Cópialo en cualquier editor de IA o ejecútalo en MeDo y obtén código React + Tailwind.

BasicStatus Pill

Five-Tone Status Pill

The one you need first. Generating all five tones together is what keeps them on a single height scale, which is what makes the badge safe to drop into a table cell.

Create a status badge with five semantic tones — neutral grey, info blue, success green, warning amber, error red — each pairing a tinted background with a darker text color at 4.5:1 or better. Give it two sizes: sm at 18px tall with 11px text, md at 22px tall with 12px text, both at a 999px radius with 8px horizontal padding, a fixed line-height and inline-flex with align-items center, so a badge dropped into a table cell cannot change the row height. Always render a text label — the tone is redundant encoding, never the only signal. Render it as a span with no tabindex and no role, because a status badge is read-only output and adding a focus stop for it clutters keyboard navigation through a table.
Prueba en MeDo
NumericCount Badge

Notification Count With 99+ Clamping

A number, a min-width so single digits stay circular, and an announcement when it changes. Without the min-width the badge visibly changes shape as the count crosses from 9 to 10.

Create a numeric count badge that clamps displayed values above 99 to "99+" while keeping the true count in the accessible name. Set min-width equal to the badge height so a single digit renders as a circle rather than a narrow oval, use tabular-nums so the width does not jitter between values, and hide the badge entirely at zero rather than rendering an empty circle. Wrap the count in an element with role="status" and aria-live="polite" so an update is announced without interrupting, and phrase the accessible text as "3 unread messages" rather than a bare numeral. Do not use aria-live="assertive" — a count change almost never justifies cutting off whatever is being read.

Prueba en MeDo
AnchoredDot Indicator

Dot on an Icon or Avatar

An 8px circle overhanging the corner of a bell or an avatar. The failure is always the same: the wrapper has overflow: hidden for its rounding and clips the dot in half.

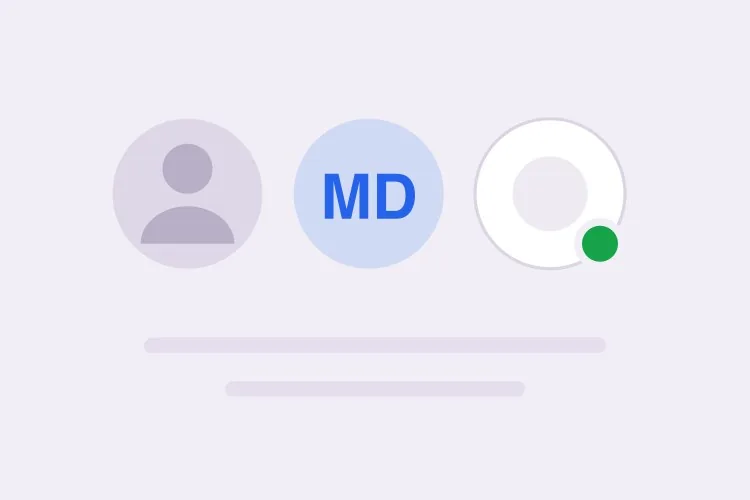
Create a dot indicator that anchors to the top-right of an icon or avatar: an 8px circle positioned absolutely with a small negative offset so it overhangs the edge, plus a 2px ring in the page surface color so it stays legible over a photo or a busy icon. Give the wrapper position: relative and explicitly no overflow: hidden — if the wrapper needs rounding, move the border-radius to an inner element so the dot is not clipped. Because a bare dot conveys nothing to a screen reader or a colorblind user, pair it with a visually hidden label naming the state or count. Mark the dot itself aria-hidden="true" so the label is announced once.

Prueba en MeDo
InteractiveRemovable Tag

Tag Chip With a Dismiss Button

The only variant that is a control rather than output. A dismiss glyph inside a div is why so many UIs ship tags a keyboard user cannot remove.

Create a removable tag chip: a label plus a dismiss control that is a real button element, not a span with a click handler, with aria-label naming the specific tag such as "Remove design" rather than a generic "Remove". Give the button a 16px glyph inside a 24px hit area, a visible focus ring, and Backspace or Delete as an alternative to Enter when it has focus. After removal, move focus to the next remaining chip, or to the group container when the last one is removed, so focus never lands on a detached node. Announce the removal through a polite live region. Keep the chip on the same height scale as the status badge so a row mixing both stays aligned.

Prueba en MeDo
With iconIcon + Label

Badge With a Leading Status Icon

A 12px glyph before the label for states that need to be identifiable in peripheral vision — a spinner for running, a check for passed, an octagon for failed in a CI list.

Create a badge variant with a 12px leading icon before the label, one distinct glyph per state so severity survives in grayscale: a check for passed, a spinning arc for running, an octagon for failed, a clock for queued. Mark the icon aria-hidden="true" since the label already carries the meaning. Keep the icon optically aligned to the text baseline rather than centered on the line box, and hold the overall badge height identical to the icon-less variant so a mixed column in a table does not develop two row heights. For the running state, drive the spin with a CSS animation and replace it with a static arc under prefers-reduced-motion rather than removing the icon.

Prueba en MeDo
SubtleOutline Badge

Bordered Badge for Dense Tables

A 1px border with a transparent fill, for screens where a column of tinted pills turns the table into a heat map. Also the variant that survives a dark theme without retinting.

Create an outlined badge variant: a 1px border in the tone color, a transparent background, and label text in the same tone at a darkened step so it holds 4.5:1 against both light and dark surfaces. Match the filled variant on height, radius, padding and line-height exactly, so the two can be swapped per column without any row reflowing — account for the 1px border inside the box by using box-sizing: border-box rather than reducing the padding. Provide a variant prop with filled and outline values on one component rather than a second component. Verify the border remains visible against a hovered table row background, which is the case that usually makes outline badges disappear.

Prueba en MeDo

Cómo personalizar tu Badge

Nombra los tonos por significado, no por color

Pide success, warning y error en lugar de verde, ámbar y rojo. Los nombres semánticos permiten reajustar la paleta para modo oscuro o un rebranding sin renombrar cada uso, y dejan claro cuándo un badge se usa de forma decorativa en lugar de para señalar un estado.

Acompaña siempre el color con una etiqueta

Un punto rojo por sí solo no dice nada a una persona con daltonismo, y absolutamente nada a quien usa lector de pantalla. Especifica que todo badge de estado renderice texto, y si de verdad necesitas un punto sin texto, pide una etiqueta visualmente oculta al lado para que el estado siga anunciándose.

Define la regla de desborde de los contadores

Indica qué ocurre por encima de tu umbral — normalmente limitar a "99+" — y da al badge un min-width para que un contador de un solo dígito siga siendo un círculo y no un óvalo estrecho. Sin min-width, el badge cambia de forma visiblemente al pasar de 9 a 10.

Distingue los badges estáticos de los chips interactivos

Un badge de estado es texto y no debería recibir foco. Una etiqueta eliminable es un control y necesita un botón real para descartarla, un anillo de foco y un nombre accesible como "Eliminar diseño". Dile a MeDo cuál quieres o acabarás con un div que parece clicable pero al que no se llega con el teclado.

Quién usa el componente Badge

Panel SaaS

Una columna de estado en una tabla que muestra Activo, Pendiente y Fallido como pills tintadas en una misma escala de altura, de modo que cambiar una fila de Activo a Fallido cambia el color y la etiqueta sin desplazar la fila.

Tienda de comercio electrónico

Un icono de carrito en el encabezado con un badge de contador anclado a su esquina superior derecha, limitado a "99+", más pills de "Nuevo" y "Pocas unidades" en las tarjetas de producto que reutilizan el mismo sistema de tonos.

Herramienta de gestión de proyectos

Chips de etiqueta eliminables en una tarjeta de tarea para etiquetas y responsables, cada uno con un botón de descarte accesible por teclado, junto a un badge de prioridad estático que deliberadamente no es interactivo.

Sitio de documentación

Badges de versión y estabilidad en línea junto a los encabezados de la API — "Beta", "Obsoleto", "v2.1" — con un line-height fijo para que no estiren el encabezado que anotan.

Patrones de Badge para distintos sitios web

El mismo componente badge, adaptado al tipo de sitio donde se publica.

01 / 06

SaaS Dashboards

A status column of Active, Pending and Failed pills, where the only thing that matters is that switching a row from one tone to another does not shift the row. Consider the outline variant once the table has more than about ten rows — a full column of tinted fills reads as a heat map.

Estilos y variantes de Badge

Elige la variante que encaje con el resto de la página y genérala.

01 / 06

Filled Status Pill

A tinted background with darker text at a 999px radius — the default, and the most legible at 11px. Keep the tint light: a saturated fill at this size makes small text harder to read exactly where the label is doing the accessibility work.

Badge en React, Next.js, Vue y Svelte

React, Next.js, Vue 3, SvelteKit, Astro o HTML puro: el mismo badge, seis formas de integrarlo.

01 / 06

React Badge

Stateless by definition — a status badge is output, so no hooks and no client boundary. Keep the tone map outside the component so the palette can be retuned in one place instead of at each call site.

src/components/Badge.tsx

const tones = {
  neutral: 'bg-zinc-100 text-zinc-700',
  success: 'bg-emerald-100 text-emerald-800',
  error: 'bg-red-100 text-red-800',
}

export function Badge({ tone = 'neutral', size = 'md', children }) {
  return (
    <span className={`inline-flex items-center rounded-full px-2
      ${sizes[size]} ${tones[tone]}`}>
      {children}
    </span>
  )
}

Cómo añadir tu Badge a un proyecto

Cuatro pasos, desde elegir una plantilla de badge hasta llevarlo a producción.

01~30s

Pick a Badge Variant

Decide first whether you need output or a control: a status pill and a count are read-only, a tag chip is interactive. Then pick the tone set and the two sizes you actually need.

02~10s

Copy the Prompt

Take it into MeDo, Lovable, Bolt, v0 or Cursor. Name your tones semantically — success, warning, error — not by color, so a rebrand or a dark theme does not mean renaming every usage.

03~1min

Generate and Refine

You get the whole set on one height scale with a live preview. Follow up in plain English — "add an outline variant", "clamp at 999+", "make the dot ring match a dark surface" — instead of nudging padding values.

04~2min

Drop It Into a Table and Check the Row Height

Put a badge in a real table cell and a real heading, then compare row heights against a cell without one. If anything grew, the line-height is not pinned and the fix belongs in the component, not the table.

Preguntas frecuentes sobre Badge

¿Cómo genero un componente badge con IA?

Describe los tonos y modos que necesitas en un solo prompt, por ejemplo "cinco tonos de estado semánticos más un badge numérico de contador y una etiqueta eliminable en dos tamaños". MeDo genera todo el conjunto compartiendo escala de altura, radio y padding en lugar de una única pill fija.

¿Cuál es la diferencia entre un badge y un tag o chip?

Un badge es salida de solo lectura: informa de un estado o un recuento y no debería recibir foco. Un tag o chip es entrada sobre la que el usuario puede actuar, normalmente eliminándolo, así que necesita un botón real, un estilo de foco y un nombre accesible. Tratarlos como un mismo componente es la razón de que tantas interfaces publiquen etiquetas que un usuario de teclado no puede descartar.

¿Puede un badge transmitir el estado solo con color?

No. La WCAG 1.4.1 exige que el color no sea el único medio para transmitir información, así que un badge rojo sin etiqueta falla para personas con daltonismo y usuarios de lectores de pantalla. Renderiza una etiqueta de texto, o un icono más una etiqueta visualmente oculta, junto al tono. MeDo incluye la etiqueta por defecto cuando describes los tonos de forma semántica.

¿Cómo muestro un contador de notificaciones superior a 99?

Limita el valor mostrado y renderiza "99+" cuando el recuento supere tu umbral, manteniendo el número real en el nombre accesible si importa. Combina el límite con un min-width igual a la altura del badge para que los contadores de un dígito sigan siendo circulares.

¿Debe un badge de contador anunciar los cambios a los lectores de pantalla?

Sí, cuando el recuento se actualiza sin navegar de página. Envuélvelo en una región aria-live="polite" para que el nuevo valor se anuncie sin interrumpir al usuario, y mantén el texto breve — "3 sin leer" se lee mejor que un número suelto. Evita aria-live="assertive" aquí, ya que un contador de notificaciones rara vez justifica cortar lo que se está leyendo.

¿Cómo coloco un badge de punto sobre un avatar sin recortarlo?

Da al contenedor del avatar position: relative y ningún overflow: hidden, y luego posiciona el punto de forma absoluta con un pequeño desplazamiento negativo para que sobresalga del círculo. Añade un anillo de 2px del color de la superficie de la página para que el punto siga siendo legible sobre una foto con mucho detalle. Si el contenedor recorta a sus hijos, mueve el redondeo a un elemento interior.