MeDo

KI-Badge-Generator.

Beschreiben Sie Ihre Zustände und MeDo generiert das komplette Badge-Set — semantische Status-Pills, entfernbare Tag-Chips, numerische Zähler mit 99+ Überlauf und Punkt-Indikatoren, die auf einem Avatar sitzen, ohne abgeschnitten zu werden.

Badge
Badge

Ein Badge ist die kleinste Komponente mit dem größten Risiko, das Layout zu zerstören

Badges leben in anderen Dingen: Tabellenzellen, Listenzeilen, Navigationselementen, Überschriften. Damit wird ihre intrinsische Höhe zu einer Layout-Abhängigkeit und nicht zu einer Stilfrage. Ein Badge, dessen line-height einen Pixel höher ist als der Text daneben, streckt unbemerkt jede Zeile einer Tabelle — und der Fehler wird als „die Tabelle sieht falsch aus" gemeldet, nicht als Badge-Problem. Das Badge auf eine feste Höhe und line-height festzulegen, anstatt Padding und Font-Metriken entscheiden zu lassen, ist genau das, was es sicher einsetzbar macht. Das Set in einem Schritt zu generieren bedeutet, dass jeder Ton und jede Größe diese Höhenskala von Anfang an teilt.

6 Vorlagen

Badge-Vorlagen, die Sie generieren können

Jede Vorlage ist ein echter Prompt, kein Screenshot. Kopieren Sie ihn in einen KI-Editor oder führen Sie ihn in MeDo aus und erhalten Sie React- und Tailwind-Code zurück.

BasicStatus Pill

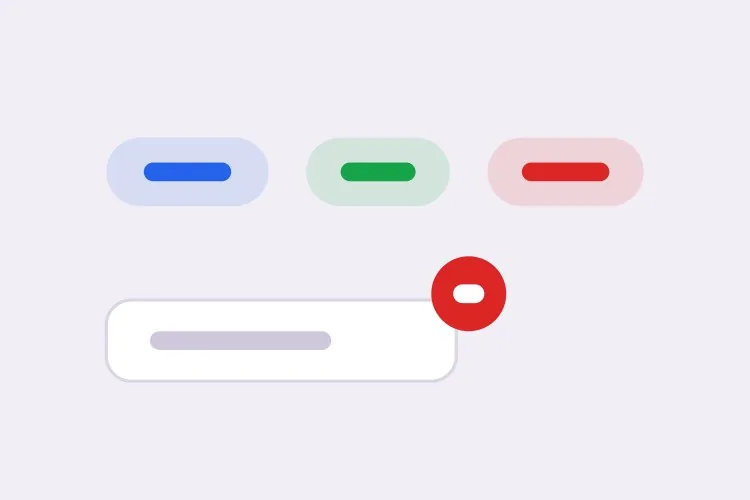
Five-Tone Status Pill

The one you need first. Generating all five tones together is what keeps them on a single height scale, which is what makes the badge safe to drop into a table cell.

Create a status badge with five semantic tones — neutral grey, info blue, success green, warning amber, error red — each pairing a tinted background with a darker text color at 4.5:1 or better. Give it two sizes: sm at 18px tall with 11px text, md at 22px tall with 12px text, both at a 999px radius with 8px horizontal padding, a fixed line-height and inline-flex with align-items center, so a badge dropped into a table cell cannot change the row height. Always render a text label — the tone is redundant encoding, never the only signal. Render it as a span with no tabindex and no role, because a status badge is read-only output and adding a focus stop for it clutters keyboard navigation through a table.
In MeDo testen
NumericCount Badge

Notification Count With 99+ Clamping

A number, a min-width so single digits stay circular, and an announcement when it changes. Without the min-width the badge visibly changes shape as the count crosses from 9 to 10.

Create a numeric count badge that clamps displayed values above 99 to "99+" while keeping the true count in the accessible name. Set min-width equal to the badge height so a single digit renders as a circle rather than a narrow oval, use tabular-nums so the width does not jitter between values, and hide the badge entirely at zero rather than rendering an empty circle. Wrap the count in an element with role="status" and aria-live="polite" so an update is announced without interrupting, and phrase the accessible text as "3 unread messages" rather than a bare numeral. Do not use aria-live="assertive" — a count change almost never justifies cutting off whatever is being read.

In MeDo testen
AnchoredDot Indicator

Dot on an Icon or Avatar

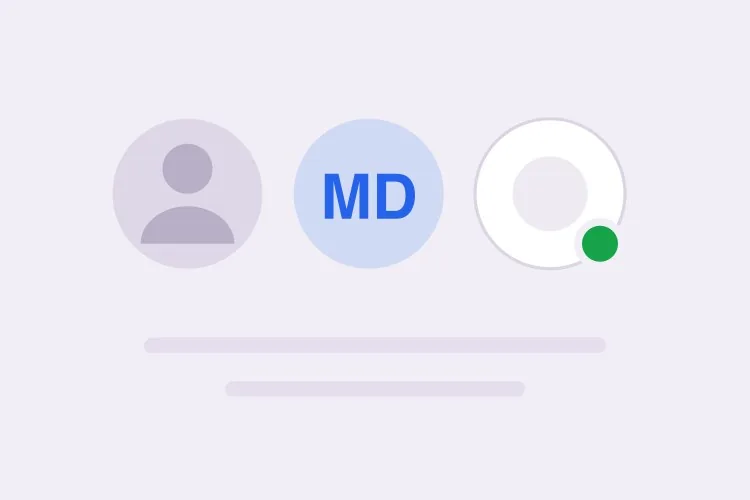
An 8px circle overhanging the corner of a bell or an avatar. The failure is always the same: the wrapper has overflow: hidden for its rounding and clips the dot in half.

Create a dot indicator that anchors to the top-right of an icon or avatar: an 8px circle positioned absolutely with a small negative offset so it overhangs the edge, plus a 2px ring in the page surface color so it stays legible over a photo or a busy icon. Give the wrapper position: relative and explicitly no overflow: hidden — if the wrapper needs rounding, move the border-radius to an inner element so the dot is not clipped. Because a bare dot conveys nothing to a screen reader or a colorblind user, pair it with a visually hidden label naming the state or count. Mark the dot itself aria-hidden="true" so the label is announced once.

In MeDo testen
InteractiveRemovable Tag

Tag Chip With a Dismiss Button

The only variant that is a control rather than output. A dismiss glyph inside a div is why so many UIs ship tags a keyboard user cannot remove.

Create a removable tag chip: a label plus a dismiss control that is a real button element, not a span with a click handler, with aria-label naming the specific tag such as "Remove design" rather than a generic "Remove". Give the button a 16px glyph inside a 24px hit area, a visible focus ring, and Backspace or Delete as an alternative to Enter when it has focus. After removal, move focus to the next remaining chip, or to the group container when the last one is removed, so focus never lands on a detached node. Announce the removal through a polite live region. Keep the chip on the same height scale as the status badge so a row mixing both stays aligned.

In MeDo testen
With iconIcon + Label

Badge With a Leading Status Icon

A 12px glyph before the label for states that need to be identifiable in peripheral vision — a spinner for running, a check for passed, an octagon for failed in a CI list.

Create a badge variant with a 12px leading icon before the label, one distinct glyph per state so severity survives in grayscale: a check for passed, a spinning arc for running, an octagon for failed, a clock for queued. Mark the icon aria-hidden="true" since the label already carries the meaning. Keep the icon optically aligned to the text baseline rather than centered on the line box, and hold the overall badge height identical to the icon-less variant so a mixed column in a table does not develop two row heights. For the running state, drive the spin with a CSS animation and replace it with a static arc under prefers-reduced-motion rather than removing the icon.

In MeDo testen
SubtleOutline Badge

Bordered Badge for Dense Tables

A 1px border with a transparent fill, for screens where a column of tinted pills turns the table into a heat map. Also the variant that survives a dark theme without retinting.

Create an outlined badge variant: a 1px border in the tone color, a transparent background, and label text in the same tone at a darkened step so it holds 4.5:1 against both light and dark surfaces. Match the filled variant on height, radius, padding and line-height exactly, so the two can be swapped per column without any row reflowing — account for the 1px border inside the box by using box-sizing: border-box rather than reducing the padding. Provide a variant prop with filled and outline values on one component rather than a second component. Verify the border remains visible against a hovered table row background, which is the case that usually makes outline badges disappear.

In MeDo testen

So passen Sie Ihre Badge an

Benennen Sie Töne nach Bedeutung, nicht nach Farbe

Fragen Sie nach success, warning und error statt nach grün, bernstein und rot. Semantische Namen erlauben es, die Palette für den Dark Mode oder ein Rebranding neu abzustimmen, ohne jede Verwendung umzubenennen, und sie machen offensichtlich, wann ein Badge dekorativ statt als Zustandssignal eingesetzt wird.

Kombinieren Sie die Farbe immer mit einem Label

Ein roter Punkt allein sagt farbenblinden Nutzern nichts, und Screenreader-Nutzern gar nichts. Legen Sie fest, dass jedes Status-Badge Text rendert, und wenn Sie wirklich einen reinen Punkt brauchen, fordern Sie ein visuell verstecktes Label daneben, damit der Zustand trotzdem angesagt wird.

Definieren Sie die Überlaufregel für Zähler

Sagen Sie, was oberhalb Ihres Schwellenwerts passiert — üblicherweise Begrenzung auf "99+" — und geben Sie dem Badge eine min-width, damit ein einstelliger Zähler weiterhin ein Kreis und kein schmales Oval ist. Ohne min-width verändert das Badge beim Übergang von 9 auf 10 sichtbar seine Form.

Unterscheiden Sie statische Badges von interaktiven Chips

Ein Status-Badge ist Text und sollte nicht fokussierbar sein. Ein entfernbares Tag ist ein Steuerelement und braucht einen echten Button für das Schließen, einen Fokusring und einen barrierefreien Namen wie „Design entfernen". Sagen Sie MeDo, was Sie wollen, sonst erhalten Sie ein div, das klickbar aussieht, aber per Tastatur nicht erreichbar ist.

Wer die Badge-Komponente nutzt

SaaS-Dashboard

Eine Statusspalte in einer Tabelle, die Aktiv, Ausstehend und Fehlgeschlagen als getönte Pills auf einer Höhenskala zeigt, sodass der Wechsel einer Zeile von Aktiv zu Fehlgeschlagen Farbe und Label ändert, ohne die Zeile zu verschieben.

Online-Shop

Ein Warenkorb-Symbol im Header mit einem Zähler-Badge oben rechts, begrenzt auf "99+", plus „Neu"- und „Geringer Bestand"-Pills auf Produktkarten, die dasselbe Tonsystem wiederverwenden.

Projektmanagement-Tool

Entfernbare Tag-Chips auf einer Aufgabenkarte für Labels und Zuständige, jeder mit einem per Tastatur erreichbaren Schließen-Button, neben einem statischen Prioritäts-Badge, das absichtlich nicht interaktiv ist.

Dokumentationsseite

Inline-Versions- und Stabilitäts-Badges neben API-Überschriften — „Beta", „Veraltet", „v2.1" — mit fester line-height, damit sie die annotierte Überschrift nicht streckt.

Badge-Muster für verschiedene Websites

Dieselbe badge-Komponente, abgestimmt auf die Art der Website, auf der sie läuft.

01 / 06

SaaS Dashboards

A status column of Active, Pending and Failed pills, where the only thing that matters is that switching a row from one tone to another does not shift the row. Consider the outline variant once the table has more than about ten rows — a full column of tinted fills reads as a heat map.

Badge-Stile und -Varianten

Wählen Sie die Variante, die zum Rest der Seite passt, und generieren Sie sie.

01 / 06

Filled Status Pill

A tinted background with darker text at a 999px radius — the default, and the most legible at 11px. Keep the tint light: a saturated fill at this size makes small text harder to read exactly where the label is doing the accessibility work.

Badge in React, Next.js, Vue und Svelte

React, Next.js, Vue 3, SvelteKit, Astro oder reines HTML — dieselbe badge, sechs Wege zur Einbindung.

01 / 06

React Badge

Stateless by definition — a status badge is output, so no hooks and no client boundary. Keep the tone map outside the component so the palette can be retuned in one place instead of at each call site.

src/components/Badge.tsx

const tones = {
  neutral: 'bg-zinc-100 text-zinc-700',
  success: 'bg-emerald-100 text-emerald-800',
  error: 'bg-red-100 text-red-800',
}

export function Badge({ tone = 'neutral', size = 'md', children }) {
  return (
    <span className={`inline-flex items-center rounded-full px-2
      ${sizes[size]} ${tones[tone]}`}>
      {children}
    </span>
  )
}

So fügen Sie Ihre Badge einem Projekt hinzu

Vier Schritte, von der Auswahl einer badge-Vorlage bis zum Einsatz in der Produktion.

01~30s

Pick a Badge Variant

Decide first whether you need output or a control: a status pill and a count are read-only, a tag chip is interactive. Then pick the tone set and the two sizes you actually need.

02~10s

Copy the Prompt

Take it into MeDo, Lovable, Bolt, v0 or Cursor. Name your tones semantically — success, warning, error — not by color, so a rebrand or a dark theme does not mean renaming every usage.

03~1min

Generate and Refine

You get the whole set on one height scale with a live preview. Follow up in plain English — "add an outline variant", "clamp at 999+", "make the dot ring match a dark surface" — instead of nudging padding values.

04~2min

Drop It Into a Table and Check the Row Height

Put a badge in a real table cell and a real heading, then compare row heights against a cell without one. If anything grew, the line-height is not pinned and the fix belongs in the component, not the table.

Häufige Fragen zu Badge

Wie generiere ich eine Badge-Komponente mit KI?

Beschreiben Sie die benötigten Töne und Modi in einem Prompt, etwa „fünf semantische Statustöne plus ein numerisches Zähler-Badge und ein entfernbarer Tag-Chip in zwei Größen". MeDo generiert das gesamte Set mit gemeinsamer Höhenskala, Radius und Padding statt einer einzelnen fest verdrahteten Pill.

Was ist der Unterschied zwischen einem Badge und einem Tag oder Chip?

Ein Badge ist reine Ausgabe: es meldet einen Zustand oder einen Zähler und sollte nicht fokussierbar sein. Ein Tag oder Chip ist Eingabe, auf die der Nutzer reagieren kann, meist durch Entfernen, und braucht daher einen echten Button, einen Fokusstil und einen barrierefreien Namen. Sie als eine Komponente zu behandeln ist der Grund, warum so viele Oberflächen Tags ausliefern, die Tastaturnutzer nicht schließen können.

Darf ein Badge den Status nur über Farbe vermitteln?

Nein. WCAG 1.4.1 verlangt, dass Farbe nicht das einzige Mittel zur Informationsvermittlung ist, daher scheitert ein rotes Badge ohne Label bei farbenblinden und Screenreader-Nutzern. Rendern Sie ein Textlabel oder ein Icon plus ein visuell verstecktes Label neben dem Ton. MeDo fügt das Label standardmäßig hinzu, wenn Sie die Töne semantisch beschreiben.

Wie zeige ich einen Benachrichtigungszähler über 99 an?

Begrenzen Sie den angezeigten Wert und rendern Sie "99+", sobald der Zähler Ihren Schwellenwert überschreitet, und behalten Sie die echte Zahl im barrierefreien Namen, wenn sie relevant ist. Kombinieren Sie die Begrenzung mit einer min-width in Höhe des Badges, damit einstellige Zähler kreisförmig bleiben.

Sollte ein Zähler-Badge Änderungen an Screenreader melden?

Ja, wenn sich der Zähler ohne Seitennavigation aktualisiert. Umschließen Sie ihn mit einer aria-live="polite"-Region, damit der neue Wert angesagt wird, ohne den Nutzer zu unterbrechen, und halten Sie den Text knapp — „3 ungelesen" liest sich besser als eine nackte Zahl. Vermeiden Sie hier aria-live="assertive", da ein Benachrichtigungszähler selten rechtfertigt, eine laufende Ansage abzubrechen.

Wie positioniere ich ein Punkt-Badge auf einem Avatar, ohne es abzuschneiden?

Geben Sie dem Avatar-Wrapper position: relative und kein overflow: hidden, und positionieren Sie den Punkt dann absolut mit einem kleinen negativen Offset, sodass er über den Kreis hinausragt. Fügen Sie einen 2px-Ring in der Oberflächenfarbe der Seite hinzu, damit der Punkt auf einem unruhigen Foto lesbar bleibt. Wenn der Wrapper seine Kinder beschneidet, verlagern Sie die Rundung auf ein inneres Element.